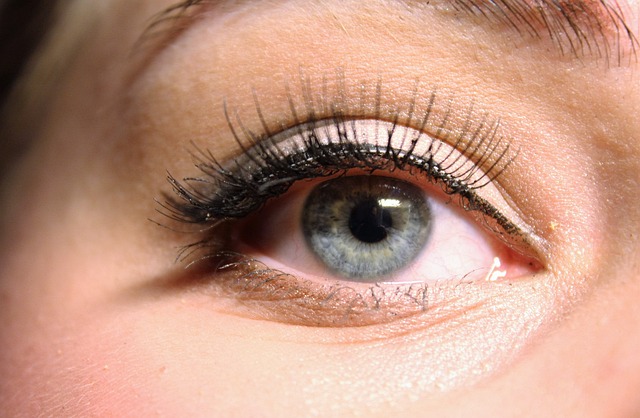
Have you ever gone to the salon for lash extensions? If so, then you’ve experienced the wonderful world of flawless lashes, speedy morning routines, and constant compliments. Lash extensions really work magic, especially for people who want to look put together every day but don’t have the time for a whole face of makeup each morning. More and more makeup-loving people are making the switch from falsies to lash extensions. Although this new method of achieving flawless lashes is quite popular, it has a huge downside – they are so dang expensive. A single trip to the salon for lash extensions could leave you $300 poorer. Thankfully, there’s a solution for people who love the look of lash extensions but hate the price: DIY lash extensions. Putting on lash extensions at home is not as difficult as you might think, and today, we’re here to give you three tips on how to make DIY lash extensions even easier. After a few practice rounds, you’ll be able to recreate flawless lash extensions from the comfort of your own home, so to learn how to do your own perfect and affordable lashes, keep on reading.
1. Prepare Your Lashes
To achieve the best at-home lash extensions possible, you first must prep your natural lashes. Your lashes should be as clean as possible before you apply your DIY lash extensions. We recommend using a gentle oil-free makeup remover on your lash line to ensure that all residual makeup is removed. Doing this will help your DIY lash extensions stay on longer compared to if you have any residual mascara on your lashes when you put on the extensions. After you remove all your eye makeup completely, wait for your lashes to fully dry before attempting to put on the extensions. Patience is key when it comes to at-home lashes.
2. Play Around With the Lash Applicator
DIY lash extension kits typically include some sort of lash applicator that looks like a curved set of tweezers. Your applicator will be critical to the success of your DIY extensions because they allow you to precisely grasp and move your lash extensions around ever so slightly. If you ask others how they use the applicator to apply their lashes, you’ll get different responses from every person you ask. This is because everyone’s eye shape and lash line is different, so no single method of using the applicator works for everyone. The best way to figure out how to use the applicator regarding angle and where to grab the lashes is to experiment a little bit before applying them. See which angle feels comfortable with your specific eye shape and how to grasp your lashes in a way that gives you maximum control. After a couple of tries, you’ll be able to use the lash applicator with confidence.
3. Be Gentle
After you successfully apply your DIY lash extensions, you might feel like doing a victory dance. Go right ahead! Celebrate this win, but don’t be fooled into thinking that the work is over. Applying your DIY lash extensions is only half of the challenge. Now, the focus shifts to maintenance. Taking care of your lash extensions is necessary for the longevity of the lashes. If you’re too harsh on your lashes and don’t clean them properly, they won’t last you very long. The most beneficial thing you can do for your lashes is be super gentle with them; treat them like the precious treasures they are. One practical way to do this is to avoid getting water directly into your eyes when showering. The sudden pressure caused by the stream of water could loosen the adhesive. You should also try your best to avoid oil-based makeup removers, as the oils will break down the adhesive, causing your lashes to fall off earlier than they should. Gentleness doesn’t stop once the sun sets, though; sleeping on your face could cause a whole lot of damage to your extensions. Make sure you sleep on your back and not in a position in which your lashes rub against the pillow. Gentleness is everything when it comes to maintaining at-home lash extensions.
Conclusion
In summary, here are the three main tips for doing your own lash extensions:
- Prepare your lashes
- Play around with the lash applicator
- Be gentle
By following these simple tips, you’ll have perfect lash extensions for weeks and only a fraction of the cost of salon lashes. Enhancing your look with natural lashes is easy and time-efficient. In just minutes, you can achieve a stunning appearance that lasts for weeks. Embrace the beauty of your own lashes without the need for excessive maintenance. Grab a DIY lash extension kit, apply those beauties, and experience the wonderful world of at-home lash extensions.
